Learn about the printing features at KPU with the instructions below. You can also print to KPU printers from your personal devices!
Students: Check Your Balance and Load Money on your Student Card
This must be done on campus. You may also visit a Library Service Counter for assistance.
- Connect to the KPUSecureStudent wireless network on your laptop or mobile device.
- Log into your student printing account at https://papercut.kpu.ca (you may also do this on a campus computer)
- In the menu on the left, click the "Add Credit" button and follow the prompts to add money to your KPU card.
A credit card is required for payment online. If you wish to pay by debit card, please visit the library service counter.
PaperCut online accepts Visa, MasterCard, Diners Club, or Discover cards and prepaid credit cards.
Loaded funds will appear under 'Balance' or 'Netzcore'.
Guest and Community Access
If you are not a current KPU student, employee, faculty member, or otherwise affiliated with KPU, please visit the Library Service Desk to request Guest Access Printing. Guests may print up to $20 worth of print jobs per day. You will be issued a temporary Guest Access Printing Card, which you can load with funds as needed. Any remaining balance will be refunded when the card is returned.
Copyright
Users are responsible for ensuring that all photocopying, printing, and scanning complies with copyright regulations.
For more information, please see the KPU Copyright Guidelines
Printing Costs
KPU printers have only three sizes of paper. Trying to print on any other size, such as A4, will result in a print failure.
| Paper Size | Black & White Single Sided | Black & White Double Sided (each side) | Colour Single Sided | Colour Double Sided (each side) |
|---|---|---|---|---|
| 8 1/2" x 11" Letter | $0.10 | $0.095 | $0.25 | $0.245 |
| 8 1/2" x 14" Legal | $0.10 | $0.095 | $0.25 | $0.245 |
| 11" x 17" Ledger | $0.20 | $0.19 | $0.50 | $0.49 |
Preparing for Printing
When you log into campus computers, the nearby printers should automatically be connected.
You may also print from your laptop or mobile device; see the instructions below.
Using MFPs (Multi-Function Printers) at KPU
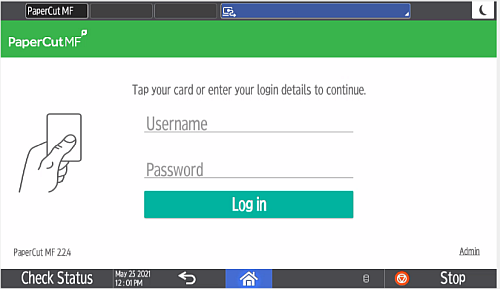
To use a printer, you must first login by either tapping your KPU card on the card reader, or log in manually in on the control panel (shown here).
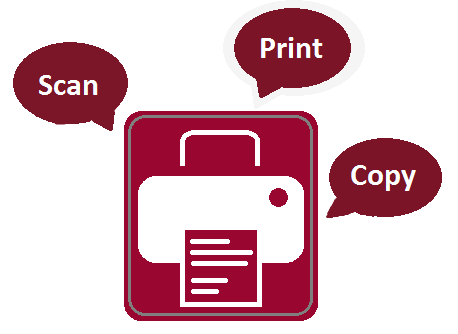
How to release print jobs from a Printer
1. Login to the printer.
2. Click on Print ALL to release your print jobs.
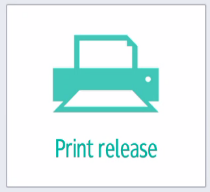
3. Alternately, you can press Print Release to select only those documents that you wish to print.
Note: Documents that are not printed will disappear from the printer list after 12 hours.
How to Copy
1. Login to the printer.
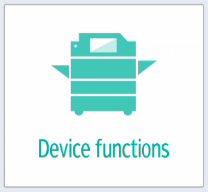
2. Press the Device Functions button, then Use Device Functions.
3. Select Copy on the screen.
4. Place original(s) face up in the feed tray on top of machine OR lift top and place original(s) face down on the glass oriented to the top left corner.
5. If you need to change settings, do so now on the screen.
6. Press START.
How to Print or Scan with a USB memory stick
There is no charge for scanning to a USB memory stick.
1. Login to the printer.
2. Insert your USB Memory Stick into the slot on the left side of the control screen.
3. Press the Device Functions button, then the Use Device Functions button.
4. Select Print/Scan (Memory Storage Device)

5. Select either Print from Storage Device or Scan to Storage Device
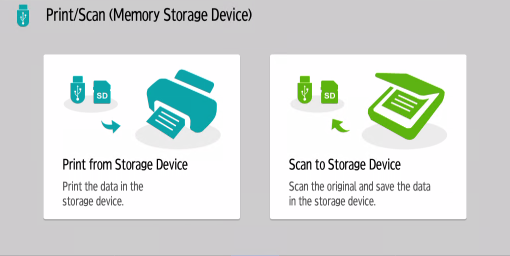
6. Press the USB Icon
7. If you are Scanning to USB, place original(s) face up in the feed tray on top of machine OR lift top and place original(s) face down on the glass oriented to the top left corner. There is no cost to scan to USB.
If you are printing, select the file to print.
Please Note: Printing from USB only works with PDF document files and JPG image files.
8. Press START. Standard printing rates will apply.
How to Scan to Email
There is no charge for scanning to email.
1. Login to the printer.
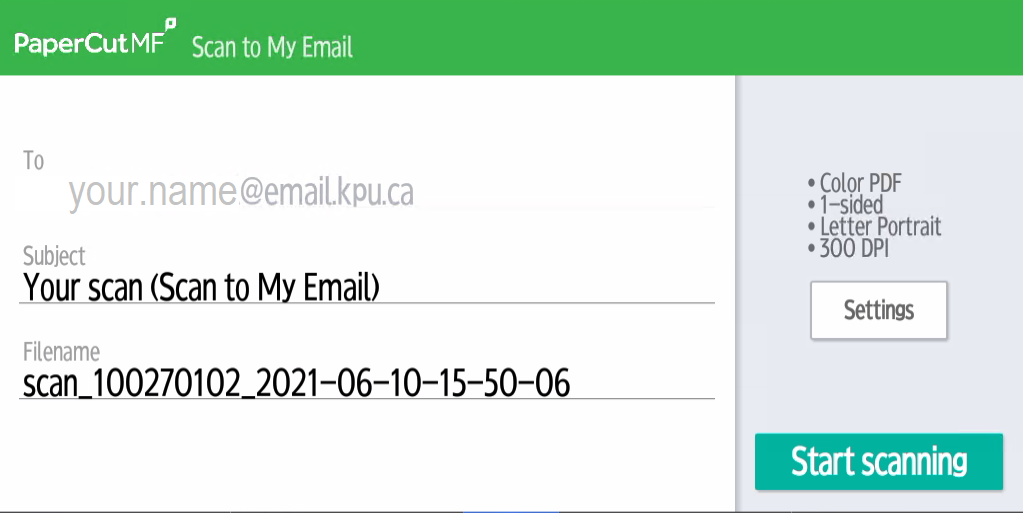
2. Press the Scan button to scan to your KPU email account. A screen will appear with your KPU email address already filled in.
3. Place original(s) face up in the feed tray on top of machine OR lift top and place original(s) face down on the glass oriented to the top left corner.
4. Select Settings if you want to change some of the default options. You can edit the Subject of the email and the Filename.
5. After scanning the first page, you will be shown a screen to scan more pages. If there are no more pages to scan, Click Send.
When using the auto-feeder, this screen will not appear.
Note: By default, the settings to scan are as follows:
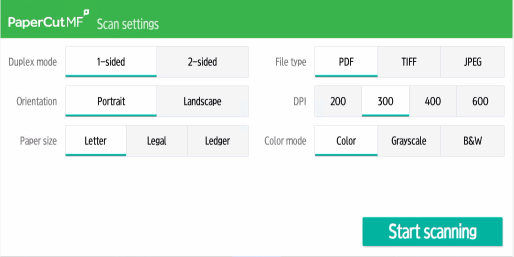
If you want to change any setting, click on the Settings button before you scan and adjust the required settings.
How to Scan to K: drive (For Employees only)
1. Login to the printer.
2. Click on Scan to scan to your account(s). It will show the Scan Actions menu as shown below:
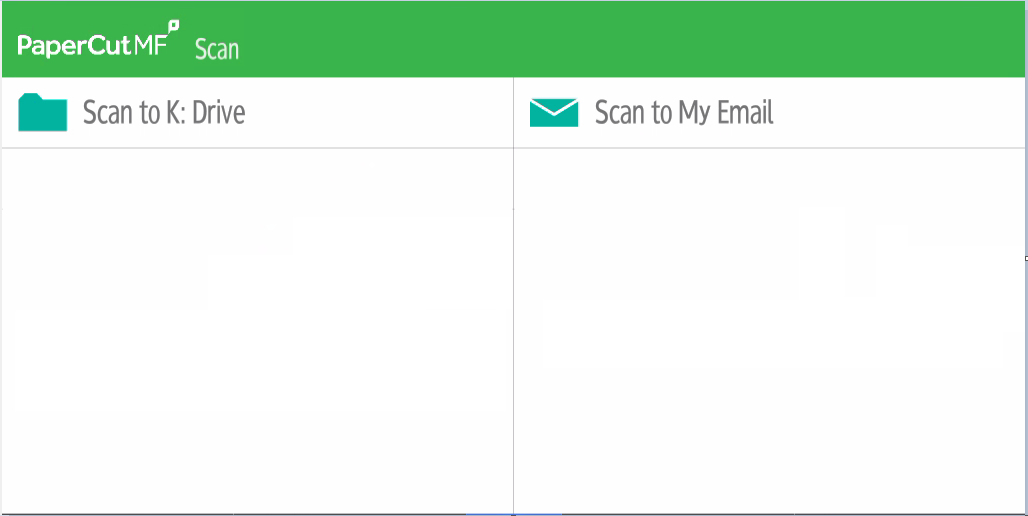
3. Click on Scan to K: Drive or Scan to My Email to send the scan to your selected destination. You will see a confirmation screen.
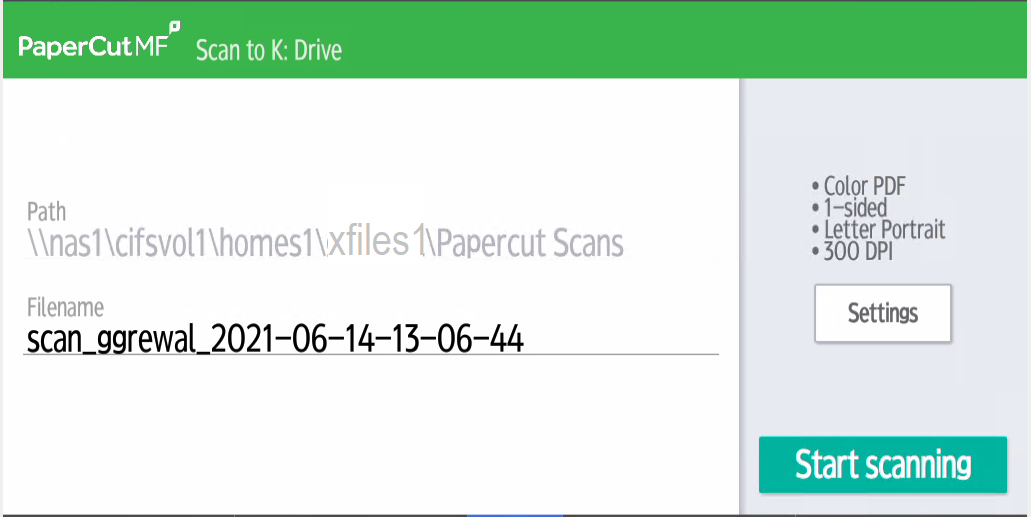
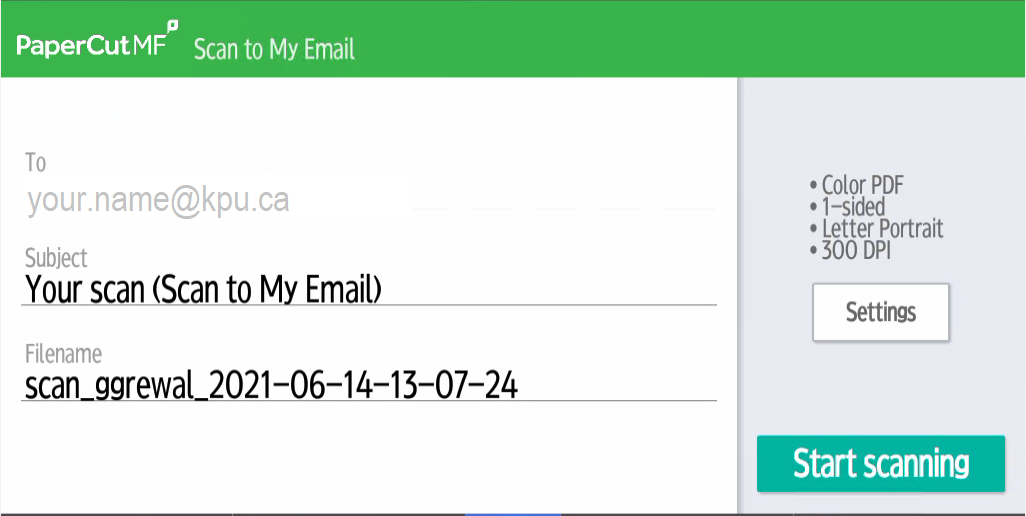
4. Place original(s) face up in the feed tray on top of machine OR lift top and place original(s) face down on the glass oriented to the top left corner.
Click on Settings to adjust scan settings, or Start scanning.
The default scan settings are shown here.

5. After scanning the first page, you will be shown a screen to scan more pages. If there are no more pages to scan, Click Send.
When using the auto-feeder, this screen will not appear.
The scanned copy will be saved in the Papercut Scans folder in your K: drive and you will receive an email confirming that your file was scanned successfully and stored in your K: drive.
Printing from Personal Devices 
Please Note: most devices like Laptops and Smart Phones (iphone and android) will work on our system, but Chromebooks are not supported.
Students - Wireless Printing
1. Connect your laptop or smart phone to KPUSecureStudent Wi-fi.
2. Click on the appropriate link below to install the Mobility Print app for your campus.
- Surrey Campus Printers for Students
- Richmond Campus Printers for Students
- Langley Campus Printers for Students
- Cloverdale Tech Campus Printers for Students
- Civic Plaza Campus Printers for Students
Employees - Wireless Printing
1. Connect your laptop or smart phone to KPUSecureEmployee Wi-fi.
2. Click on the appropriate link below to install the Mobility Print app for your campus.
- Surrey Campus Printers for employees
- Richmond Campus Printers for employees
- Langley Campus Printers for employees
- Cloverdale Tech Campus Printers for employees
- Civic Plaza Campus Printers for employees
Printing Tips
- Make sure there is enough money on your account before printing.
- Scanning to USB or email is free; printing or copying incurs cost.
- If you need multiple copies, start by printing only one to check the actual print results.
- KPU printers have three sizes of paper. Printing will not work if a paper size other than one of these sizes. If a document is in A4 size, select paper size Letter 8 ½ x 11 for printing.
- Don’t print directly from the internet or email – especially government documents. First, save or download the document to the local computer – for example on the Desktop. Open the file with the program that is normally associated with the file type. Adobe Acrobat would be best to open and print PDF files.
- Preview images before printing to make sure it’s going to look OK on the desired paper size.
- If you cannot get the print function working with an image, print it as a “PDF” which will save it on the computer. You can then open it and print with Adobe Acrobat on KPU computers.
- Some European Word documents tend to automatically open in Microsoft Paint on a KPU computer. Save it on the Desktop as a PDF so that it will print correctly.