Using the Plan Ahead resource, you may create up to three different sample registration schedules for an upcoming term before your registration date. Once your registration date is open, you may register for one, some, or all sections in your choice of plan with one click!
To create a Registration Plan:
- Click the Plan Ahead link on the Registration application. You do not need to have a registration date to use the Plan Ahead tool.
- Select the term and then Select Create a New Plan.
- Search for your course by using the Subject and Course number and any other criteria of your choice and select Search.
- Click on the title of the course to check that you meet the requirements, such as pre-requisites and restrictions.
- Refer to Reserves and Restrictions to see the details of a section that has seat reserves or restrictions.
Please note that registration error checking only takes place at the time of registration. Make sure you check the pre-requisites and restrictions for courses you add to a plan to ensure there will be no errors when it is time to register.
- If you choose View Sections, all sections of the course offered that term will display.
- Select Add to add your choice of section to your plan. You will now see both your pending additions in your Untitled Plan Summary.
- When you are finished adding to your plan, choose Save Plan; a dialogue box will require you to name your plan.
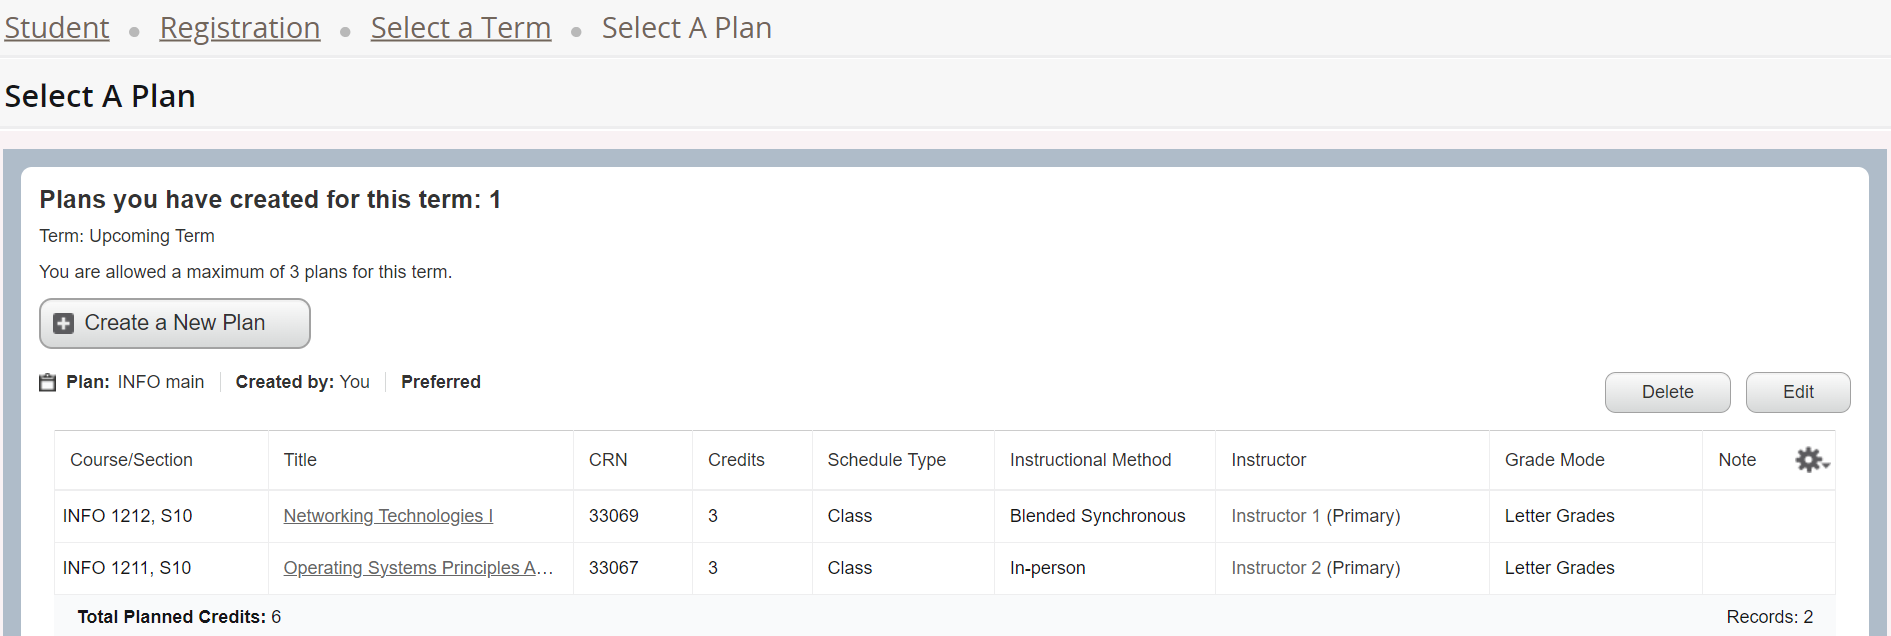
Once your plan is saved, you will see the sections in your now titled Plan Summary with the Registration Status Planned, and the section displayed in your Class Schedule window. You can add a note about each course or section in your plan by selecting the Note icon in your Summary. You can also edit or delete a plan, or choose which will be your preferred plan.
You cannot add a course that is not being offered for the term to your plan. If a course is being offered, you have the option of adding the course directly to your plan or viewing the sections.
- Adding a course to your plan will not display in your Schedule window as there are no meeting days or times associated with a course, but you will see the course in your Untitled Plan window with the Registration Status Pending. You must add a section to your plan if you want to register from your plan.
When you are eligible to register, you can go to the Register for Classes tab and Enter your term, Click on the Plans tab, Select the plan you want to use (you are able to add one or all of your sections from a plan at one time), and then the courses will be added to your Summary tab, Click Submit to register in your Planned courses with one click!
If there are any errors, you will see them at the top right of the screen. More information on what the errors mean can be found on our Registration Errors webpage.